Smart thermostats offer convenience and energy savings, but occasional glitches can frustrate even the most tech-savvy homeowner. This guide tackles three common issues: Wi-Fi connectivity problems, inaccurate temperature readings, and unresponsive units. We’ll provide clear, step-by-step solutions to get your smart thermostat back on track and optimizing your home’s comfort.
From troubleshooting network configurations and calibrating sensors to performing factory resets, we’ll cover a range of practical solutions. Whether your thermostat is refusing to connect, displaying the wrong temperature, or completely frozen, this guide offers the expertise you need to regain control of your home’s climate.
Smart Thermostat Not Connecting to Wi-Fi
A common frustration with smart thermostats is their inability to connect to your home’s Wi-Fi network. This can stem from several issues, ranging from simple network configuration problems to more complex router or thermostat malfunctions. Understanding the potential causes and systematically troubleshooting the problem will help you restore your smart thermostat’s connectivity.
Causes of Wi-Fi Connectivity Issues
Several factors can prevent your smart thermostat from connecting to your Wi-Fi network. These include incorrect Wi-Fi password entry, router issues (such as weak signal strength or interference), problems with the thermostat’s internal Wi-Fi module, and network compatibility problems (e.g., using a 5GHz network when the thermostat only supports 2.4GHz). Sometimes, a simple power cycle can resolve temporary glitches. Furthermore, network congestion, particularly in homes with many connected devices, can also impact connectivity.
Troubleshooting Network Connectivity Problems
Effective troubleshooting involves a systematic approach. Begin by verifying the most common causes and gradually move to more advanced steps.
- Check your Wi-Fi network: Ensure your router is powered on and broadcasting your Wi-Fi network. Note your network name (SSID) and password. Many routers have indicator lights that show their connection status.
- Restart your router and thermostat: Unplug your router and thermostat from their power sources, wait for about 30 seconds, then plug them back in. This often resolves temporary glitches.
- Check your Wi-Fi password: Carefully re-enter your Wi-Fi password into your thermostat’s settings. Double-check for typos, as even a single incorrect character can prevent connection.
- Verify network configuration on the thermostat: Access your thermostat’s settings menu (usually via an on-screen interface) and ensure that it’s attempting to connect to the correct 2.4GHz Wi-Fi network. Some thermostats don’t support 5GHz networks.
- Check for router interference: Certain electronic devices can interfere with Wi-Fi signals. Try moving your thermostat closer to your router or repositioning the router to minimize interference. Metal objects or thick walls can also weaken the signal.
- Check your thermostat’s Wi-Fi module: If the above steps don’t work, there might be a problem with the thermostat’s internal Wi-Fi module. Consult your thermostat’s manual or contact the manufacturer’s support.
Manually Connecting to Wi-Fi
Many smart thermostats have an on-screen interface that guides you through the Wi-Fi connection process. This usually involves selecting your Wi-Fi network from a list and entering your Wi-Fi password. The exact steps will vary depending on your thermostat model, but generally, you’ll find a “Wi-Fi setup” or “Network settings” option in the thermostat’s menu. Follow the on-screen prompts carefully.
Comparison of Troubleshooting Methods
| Method | Description | Effectiveness | Time Required |
|---|---|---|---|
| Restart Router/Thermostat | Unplug and replug both devices. | High for temporary glitches | 5 minutes |
| Check Wi-Fi Password | Verify correct entry of password. | High for password errors | 2-5 minutes |
| Check Network Configuration | Ensure correct SSID and 2.4 GHz network selection. | Moderate to High | 5-10 minutes |
| Check for Interference | Move thermostat closer to router or reposition router. | Variable, depends on interference | 10-15 minutes |
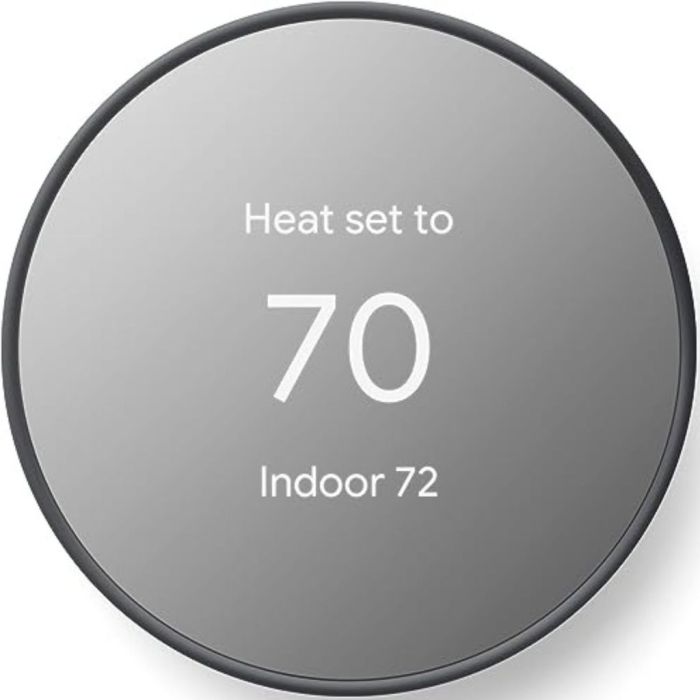
Inaccurate Temperature Readings
Smart thermostats rely on accurate temperature readings to function correctly. Inaccurate readings can lead to inefficient heating or cooling, resulting in higher energy bills and discomfort. Several factors can contribute to these inaccuracies, and understanding these factors is key to troubleshooting the issue.
Several factors can contribute to inaccurate temperature readings from your smart thermostat. These include the placement of the thermostat itself, a malfunctioning temperature sensor within the unit, and external environmental influences. Improper placement can expose the sensor to heat sources (like direct sunlight or nearby appliances) or cold drafts, leading to skewed readings. A faulty sensor, on the other hand, provides inherently incorrect data regardless of placement. Finally, external factors like extreme temperatures or humidity can also affect the sensor’s accuracy.
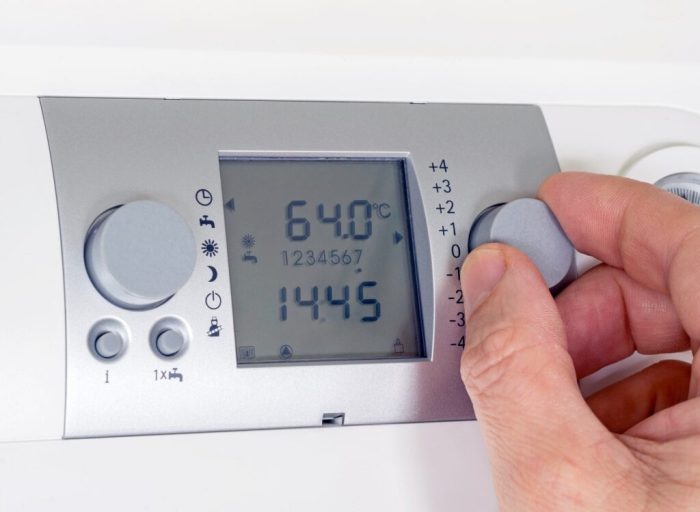
Calibrating the Thermostat
Calibrating your smart thermostat involves adjusting its internal reading to match the actual room temperature. This usually involves comparing the thermostat’s reading to a reliable thermometer placed in the same location for a period of time (at least 15-20 minutes). Most smart thermostats have a calibration setting within their menu, allowing you to manually adjust the displayed temperature by a few degrees. Consult your thermostat’s user manual for the specific instructions on how to access and use this calibration feature. For example, a consistently 2-degree offset could be corrected through this calibration process.
Identifying and Replacing a Faulty Temperature Sensor
A faulty temperature sensor is less common but can lead to persistent inaccurate readings despite calibration attempts. Identifying a faulty sensor usually requires comparing the thermostat reading to multiple readings from accurate thermometers placed in different locations around the room. Consistent discrepancies despite calibration strongly suggest a sensor problem. Replacing the sensor typically requires technical expertise and may involve contacting the manufacturer or a qualified technician. It is generally not a user-serviceable component. Attempting to repair or replace it yourself may void your warranty.
Ideal Thermostat Placement
Accurate temperature readings depend heavily on proper thermostat placement. The ideal location is on an interior wall, away from direct sunlight, heat sources (like fireplaces, radiators, or ovens), and cold drafts (like windows or exterior doors). It should also be at least four feet above the floor and away from obstructions that could block airflow. Imagine a central location in the room, about 5 feet from the floor and away from any heat-generating appliances or drafty areas. This ensures that the sensor gets a representative reading of the average room temperature. A visual representation would show a thermostat mounted on an interior wall, centrally located, and several feet away from windows, doors, and appliances.
Smart Thermostat Not Responding or Freezing
A frozen or unresponsive smart thermostat can be incredibly frustrating, leaving you without control over your home’s temperature. This issue can stem from several sources, ranging from minor software glitches to more serious hardware problems. Understanding the potential causes and troubleshooting steps is key to quickly restoring functionality.
Potential Causes of a Non-Responsive Smart Thermostat
Several factors can contribute to a smart thermostat freezing or becoming unresponsive. Software glitches, often caused by outdated firmware or corrupted data, are a common culprit. Power issues, such as a weak battery or a problem with the wiring connecting the thermostat to your HVAC system, can also lead to freezing. Finally, hardware malfunctions, including internal component failures, can render the thermostat unusable. Identifying the root cause is crucial for effective troubleshooting.
Troubleshooting Steps for a Non-Responsive Thermostat
Before resorting to more drastic measures, try these simple troubleshooting steps. First, perform a power cycle. This involves turning off the power to the thermostat (usually by removing the battery or turning off the breaker for the HVAC system) and then turning it back on after a few minutes. This often clears minor software glitches. Next, check the power supply. Ensure the batteries are fresh and correctly installed, or if it’s a hardwired thermostat, verify that power is reaching the unit. If the problem persists, a factory reset might be necessary.
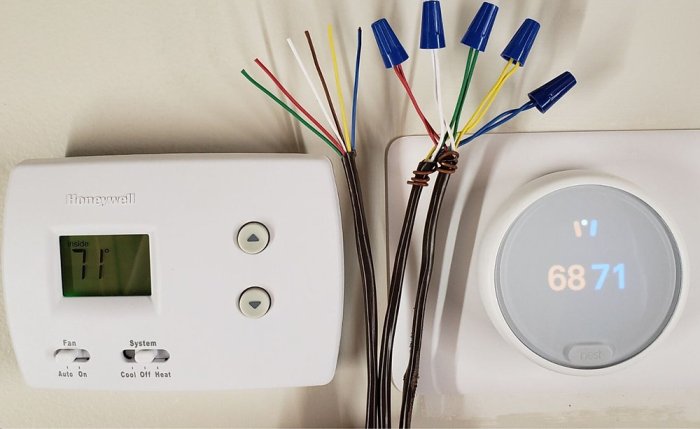
Factory Reset Methods for Different Smart Thermostat Models
Performing a factory reset varies depending on the smart thermostat model. Some models have a dedicated reset button, often requiring a paperclip or similar tool to press a small recessed button. Others might require navigating through the thermostat’s on-screen menu to find a “factory reset” or “restore defaults” option. Consult your thermostat’s user manual for specific instructions. For example, a Nest thermostat might require holding down a specific button combination, while a Honeywell thermostat might involve accessing a hidden menu through a sequence of button presses. Always back up any important settings before performing a factory reset, if possible.
Common Error Codes and Solutions
A frozen or unresponsive thermostat may display error codes indicating the problem. Understanding these codes can help pinpoint the issue.
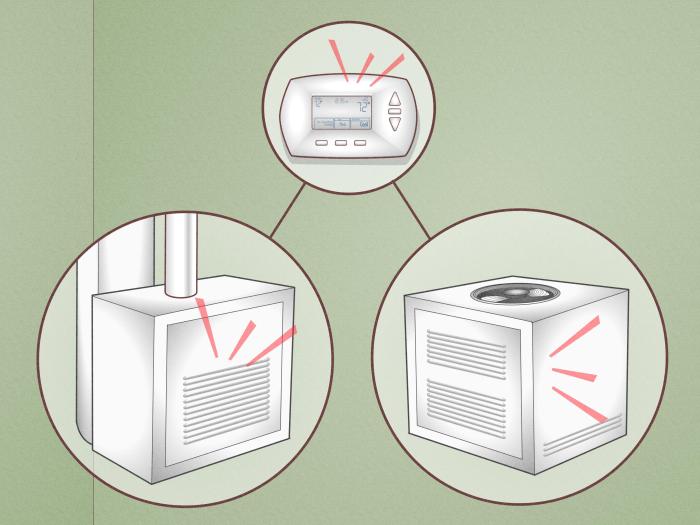
- Error Code E1 (Example): This code often signifies a communication problem between the thermostat and the HVAC system. Check the wiring connections and ensure the HVAC system is functioning correctly. If the issue persists, contact a qualified HVAC technician.
- Error Code E2 (Example): This hypothetical error code could indicate a sensor malfunction. Try cleaning the thermostat’s sensor. If the problem continues, you might need to replace the sensor or the entire thermostat.
- Error Code E3 (Example): This might suggest a problem with the thermostat’s internal circuitry. In this case, a factory reset might be helpful. If the error persists after a reset, it is likely a hardware failure requiring professional repair or replacement.
Closure
Mastering your smart thermostat shouldn’t be a source of frustration. By understanding the common causes of connectivity issues, inaccurate readings, and unresponsive behavior, you can quickly resolve most problems. Remember to consult your thermostat’s manual for model-specific instructions, and don’t hesitate to contact customer support if needed. With a little troubleshooting, you can enjoy the seamless comfort and energy efficiency your smart thermostat was designed to deliver.